

Support -> How To Add a Staff Member
How To Add a Staff Member
This guide will show you how to add a staff member to your online scheduling software and configure the staff user settings.
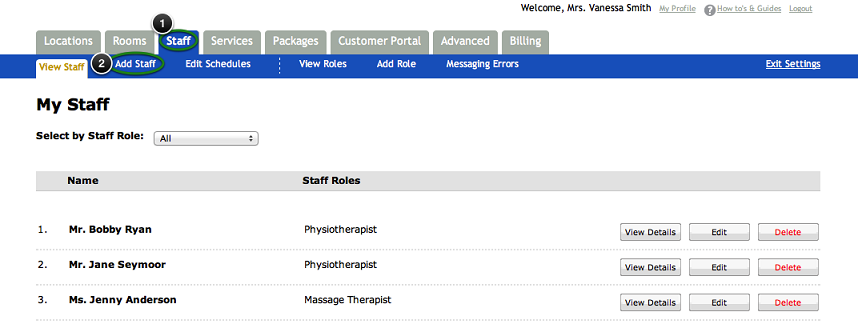
Step 1. Enter the "Add Staff" Section
After selecting the "Staff" tab in the Settings page, select the "Add Staff" option.
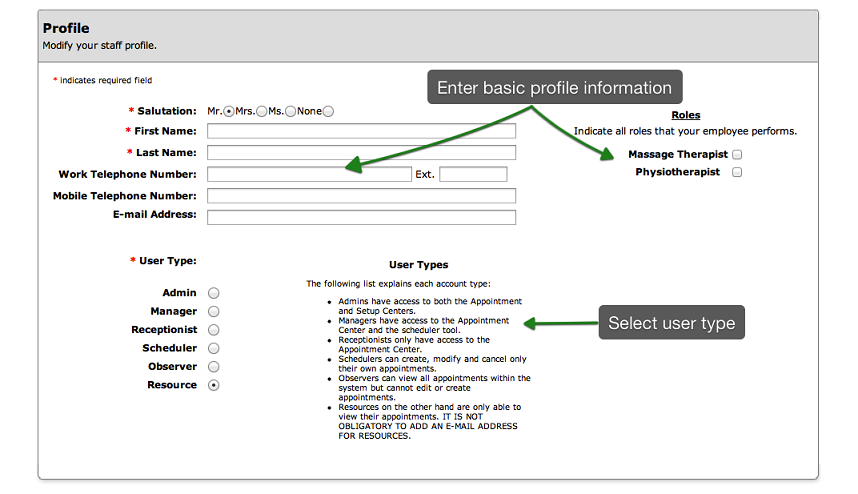
Step 2. Enter Employee Details
In the Profile section of the page, enter the required employee fields: salutation, first name,
and last name. You may also enter contact information and roles.
When entering an email address, please ensure that the green check mark appears. A validation email will automatically
be sent to your staff member when you save the employee profile. They must validate the email address within 7 days of
reception. The email address will serve as their user name and allow them to access the scheduling software
via the staff login page located on your personalized online booking portal.
You must also select a user type by checking the appropriate box. Six different user types are available:
Admin, Manager, Receptionist, Scheduler, Observer, and Resource. Note that
online scheduling privileges will vary depending on your selection.
Please review the definition of each user type carefully.
If you simply require a new scheduling calendar or the staff member does not have an e-mail address or you do not want the
staff to have any access to the software, simply select the Resource type. The Resource type is the only
user type that does not require an e-mail address.
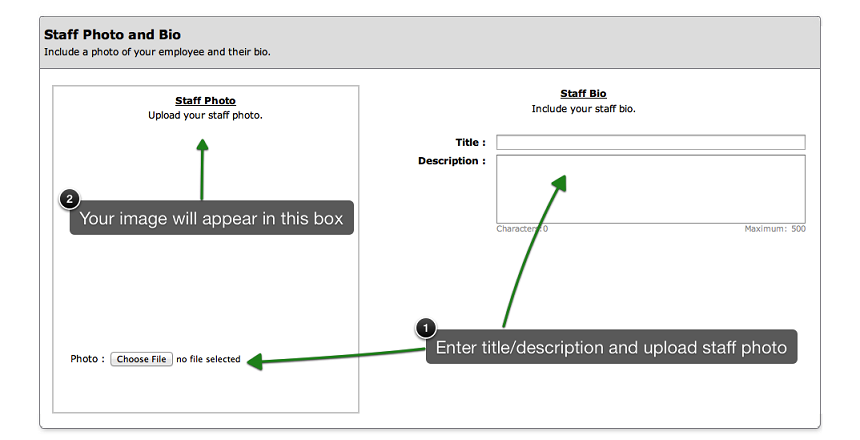
Step 3. Upload a Photo and Bio to be viewed on the Client Scheduling Portal
Simply type in the desired text to be displayed and select the image to be uploaded.
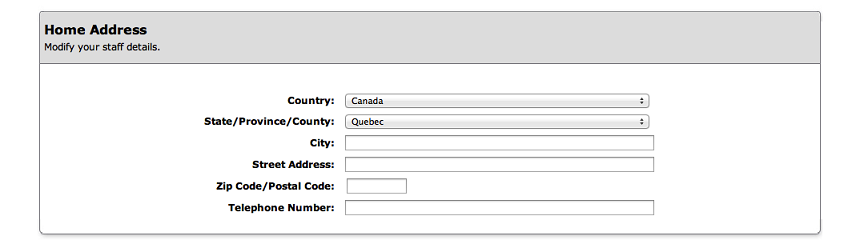
Step 4. Enter The Employee's Address
In the Home Address section of the page, you may enter the employee's address. This information
is optional and will only be displayed internally.
Step 5. Save Your Changes
Don't forget to click the "Save" button at the bottom of the page to confirm your changes.
© 2009 - 2019 datedechoix.com